plain paper
• letter/A4 paper
• legal paper
letter/A4 paper
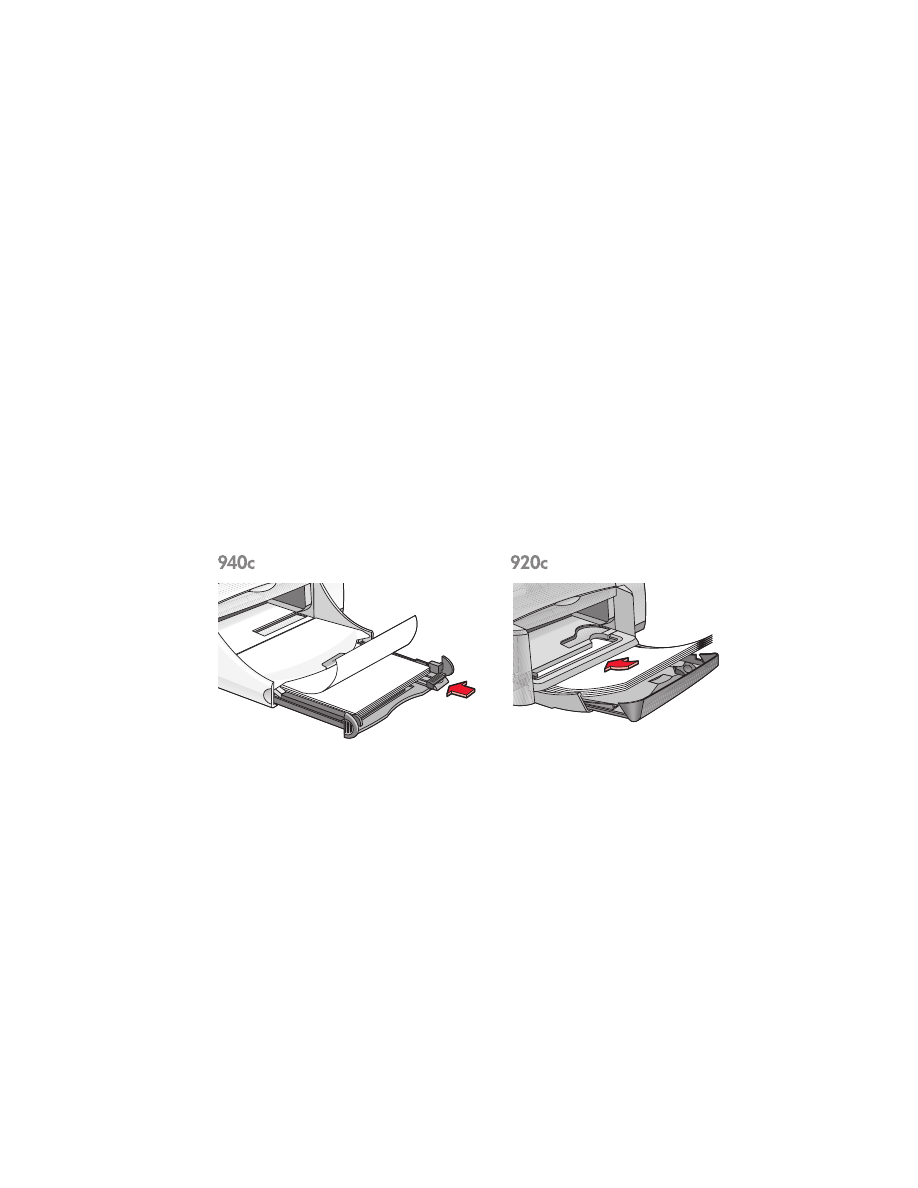
preparing to print
1.
Raise the Out tray and pull out the In tray.
2.
Slide out both paper guides.
3.
Insert a stack of paper into the In tray.
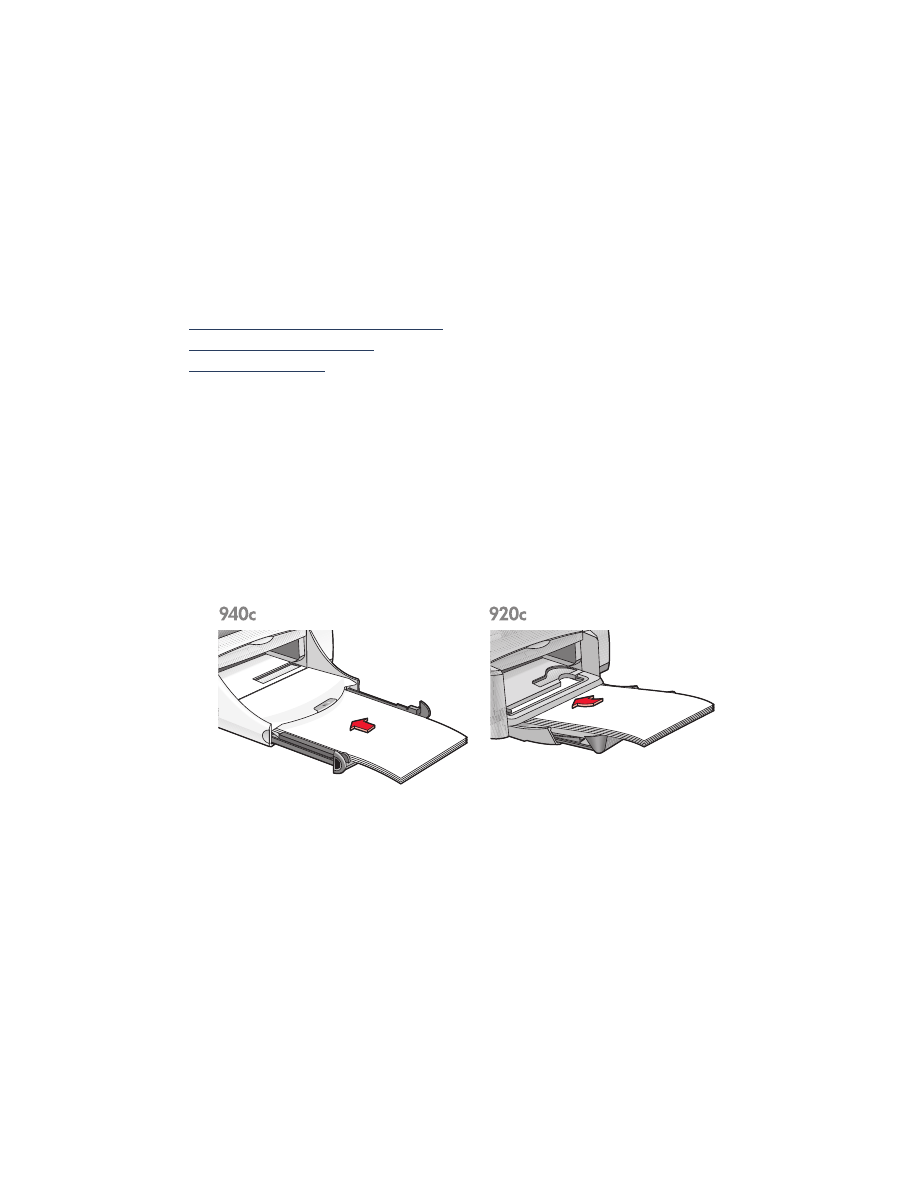
4.
Place up to 100 sheets of paper into the In tray if your printer has a Fold-
Up tray. Place up to 150 sheets of paper into the In tray if your printer
does not have a Fold-Up tray.
5.
Slide the paper width guide snugly against the stack of paper.
6.
Lower the Out tray.

21
printing on letter/A4 paper
1.
Open the file you want to print.
Follow one of these paths to select your print options, depending on the
software program you are using:
• Click
File
>
, then select
Properties
–or–
• Click
File
>
Print Setup
, then select
Properties
–or–
• Click
File
>
>
Setup
, then select
Properties
.
The printer properties box appears with Setup, Features, and Advanced
tab options.
2.
Select the
Setup
tab, then choose the following:
•
Print Quality
:
Draft
,
Normal
, or
Best
•
Paper Type
:
Plain Paper
•
Paper Size
:
Letter
or
A4
3.
Select the
Features
tab, then choose the following:
•
Orientation
: Appropriate orientation
•
Two-Sided Printing
: Select if you wish to print manually on both sides
of the paper. If you have purchased the optional HP Two-Sided
Printing Accessory (
not available for all printer models
), two-sided
printing occurs automatically when this box is checked.
•
Copies
: Number of copies
4.
Select the
Advanced
tab if you wish to print in grayscale or make optional
adjustments to ink volume, color, or print speed (Low Memory Mode).
22
printing guidelines
Most plain photocopy paper can be used in your printer, particularly paper
that is marked for use in inkjet printers. To get the best results, use HP papers.
These papers have been developed especially for HP inks and HP printers.
See also:
printing with your hp deskjet printer
manual two-sided printing
custom paper sizes
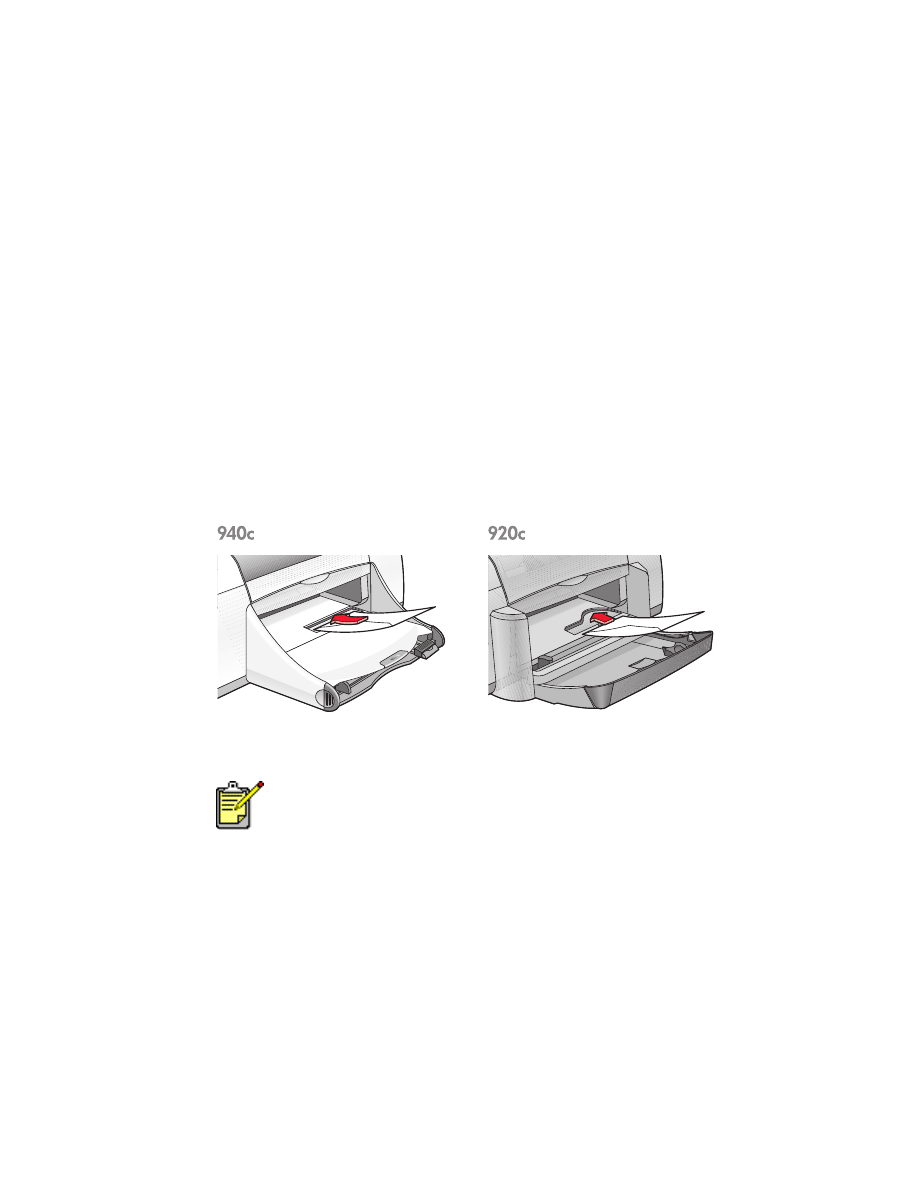
legal paper
preparing to print
1.
Raise the Out tray and pull out the In tray.
2.
Slide out both paper guides.
3.
Insert a stack of legal-sized paper into the In tray as far as it will go.
4.
The paper will extend over the edge of the tray.
5.
Slide the paper width guide snugly against the stack of paper.
6.
Lower the Out tray.

23
printing on legal paper
1.
Open the file you want to print.
Follow one of these paths to select your print options, depending on the
software program you are using:
• Click
File
>
, then select
Properties
–or–
• Click
File
>
Setup
, then select
Properties
–or–
• Click
File
>
>
Setup
, then select
Properties
.
The printer properties box appears with Setup, Features, and Advanced
tab options.
2.
Select the
Setup
tab, then choose the following:
•
Print Quality
:
Draft
,
Normal
, or
Best
•
Paper Type
:
Plain Paper
•
Paper Size
:
Legal
3.
Select the
Features
tab, then choose the following:
•
Orientation
: Appropriate orientation
•
Two-Sided Printing
: Unchecked
•
Copies
: Number of copies
4.
Select the
Advanced
tab if you wish to print in grayscale or make optional
adjustments to ink volume, color, or print speed (Low Memory Mode).
printing guidelines
Leave the In tray pulled out when you print on legal paper. The paper will
extend over the edge of the tray.
For best results use hp products.
24